
There is a saying where I’m from, which goes: “old age comes with defects”. The same is true for my latest purchase, which was the Scallop Hem JSK (2007) from Baby the Stars Shine Bright. I had bought it secondhand off Lacemarket, and was surprised to see the amazing condition such an old dress was in, for a great price too! But, there is another saying: “looks can be deceiving”…

As you can imagine, I was anything but thrilled about the situation. To add insult to injury, I had sold a similar dress (the 2006 version) just a month earlier for the very same reason that the lace was discolored, and it was too short for my liking to actually put in any work to make the lace white again (there was a possibility of having to take off all the lace in order to bleach it). Turns out this version was just as short. In other words: they were identical! I got the the exact same lookalike as the dress I had sold a month earlier, for almost the same price too (+ shipping and customs). Now it got personal. I put on my cleaning gloves, bought all the Colour Catcher Wipes and Vanish OxiClean I could find, and got to work! For those in a similar predicament, I’m going to share my process and results in this blogpost.
Sidenote: I did message the seller about the dramatic difference in the advertised dress and the actual product. They compensated me accordingly. Understandably, they did not take returns.
How I did it

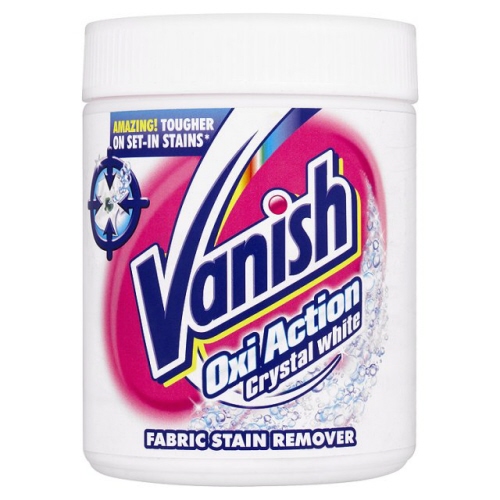
To get the lace white again, but keep the black fabric of the jumperskirt intact, I used Vanish White/OxiClean. This cleaning product is sold in powder-form most of the time and is generally used as a stain cleaner, but it has whiting properties, too. Depending on the brand, some variations are being advertised to whiten stained or greyed/yellow textiles specifically, so be on the lookout for this version. The product is ideal for black/colored clothes with white details such as this dress, because it does not work like a chlorine bleach product, which will discolour the garment in its entirety. Instead, the powder dissolves in water which actives the hydrogen peroxide in the formula, whitening the white parts of a garment and minimally impacting any other colours.
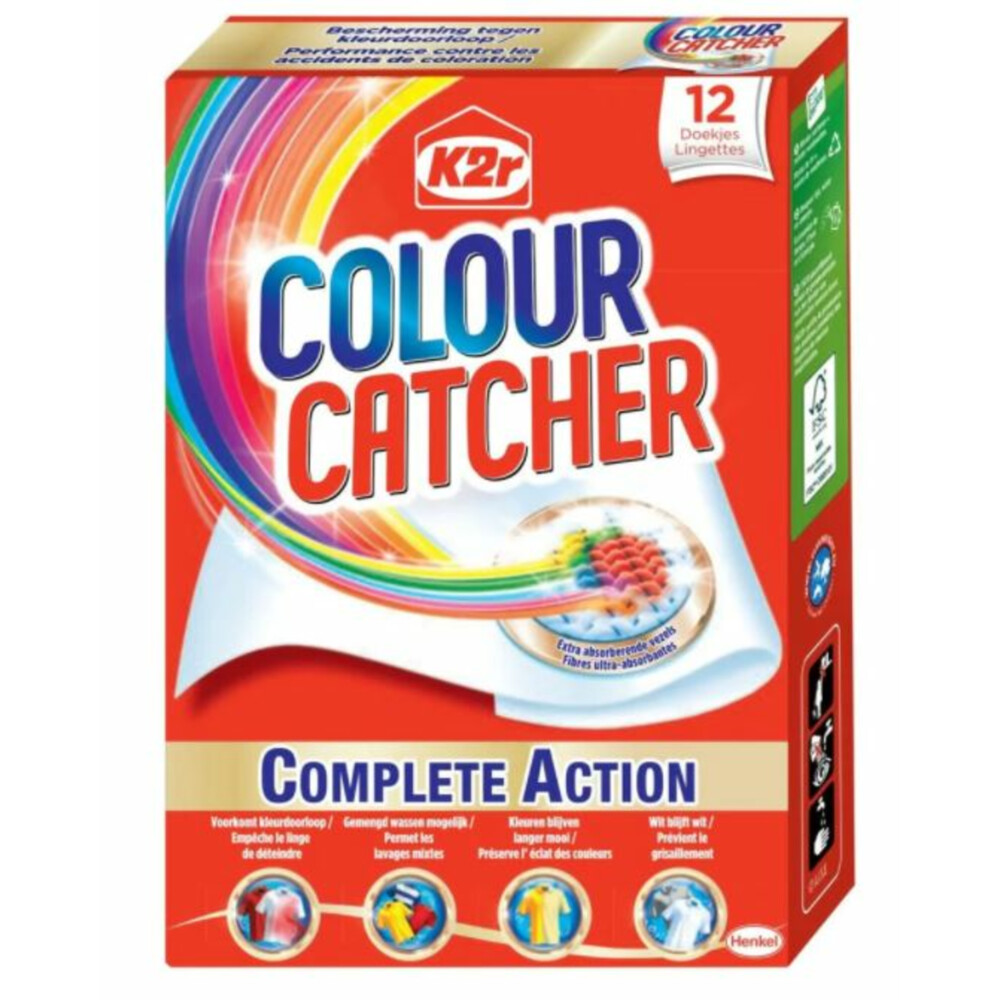
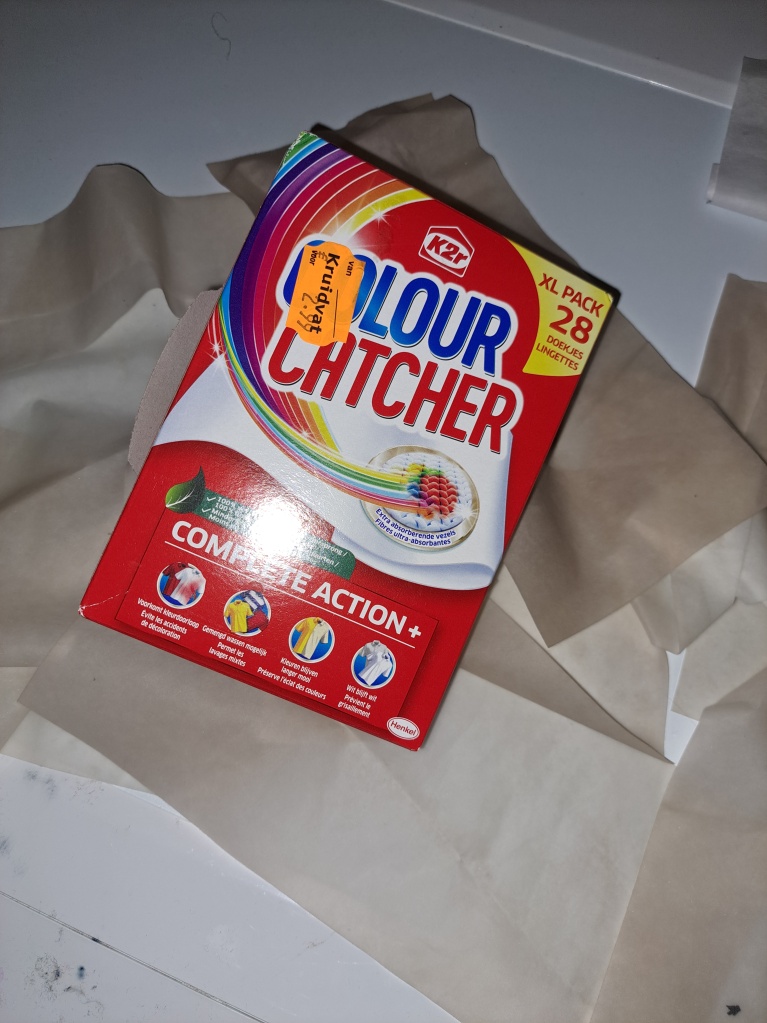
The second magical tool I used to achieve this whitening process, are Colour Catcher Wipes. These are usually sold in boxes and, as the name implies, as wipes. The wipes can be thrown into the washer or handwash to prevent the bleeding of dye. In my case, I used them to catch the yellowing in the white lace.
To get the desired result, I had to use these products multiple times. This is how I got to work:
Wash #1 – In the washing machine
Wash number 1 was done in the washing machine. I did this for two reasons: I did not know how much dirt/discoloration would bleed out of the lace and the black fabric. I have had experiences in the past, when I tried whiteing lace on a different dress, and starting out by a soak in a tub with water and OxiClean/Vanish. Within minutes, the water turned a dark brown colour, almost like coffee. This was dye/dirt that bled out of the black fabric and seeped into the white fabric, making the discoloration worse (the lace turned orange!). A washing machine will move/spin the dress around regularly and change the water during the washing programme, which should prevent any further discolouration. Also, I was too lazy to actually set up a tub and was hoping to get it done with just a few washes, haha.
I used: White laundry detergent (a blue liquid for white laundry) mixed with one scoop of Vanish/OxiClean in the detergent drawer, 8 Colour Catcher wipes in the drum.
The result of this step:
The brown water was caught by the Colour Catchers instead of the white lace. It was a win! But the lace was far from white. I decided to wash the dress normally to get any leftover product out (you don’t want to leave it in too long, Vanish/OxiClean advises to rinse any product out after a maximum of 6-7 hours) and go for a soak in the tub, as that allows the product to do its work for longer.
Wash #2 – Soak in a tub
I’m going to be honest, I did not take photos along every step of the way. Unfortunately, I can’t share what result the second wash had, but instead I will explain what I did.
I used: A small tub (the kind you use for a foot bath or to wash dishes in, or something), one generous scoop of Vanish/Oxiclean, four Colour Catcher wipes, warm water
To start, add a scoop of the powder to the tub and add warm water (not too hot, remember that cotton can shrink pretty easily) and allow the product to foam in the tub. After that, place the Colour Catcher wipes in and place the garment overtop. That way, you make sure that any running colours will be properly caught by the wipes, instead of when they float overtop and get half a job done.
Results: The wipes came out brown still. This was an indication that I had to repeat this process.
Wash #3-#11
And repeat I did. I soaked the dress in a tub with the whitening product a total of 4 times and used the machine method around 6 to 7 times (I forgot the exact amount). Basically, I lowered the amount of Colour Catcher wipes as the brown stains decreased after every wash/soak, but I never skipped adding at least two wipes, just in case. After a while, it started looking pretty good! To make sure it wasn’t wishful thinking, I compared the lace to a white Baby the Stars Shine Bright blouse, and my black and white Lace Frill jumperskirt. Please note, the Lace Frill jumperskirt is from 2020, so the lace is still in pretty good condition.


Result: I still noticed a slight difference in brightness between the blouse and dress (pictured left), but the result was obvious when compared to the Lace Frill jumperskirt (pictured right). Some parts of the whitened lace looked even *whiter* than my much more recent Lace Frill’s lace. That’s where I decided to call it a succes and stop the process.

Forgive my unkeptness in this photo, it was a hot and busy day. As you may notice, the black is not as vibrant as the other details in the coord. I do want to add that this is more noticeable on the photo than it is in real life, but doing 10-11 soaks with whitening agent may have this effect. Please be warned.
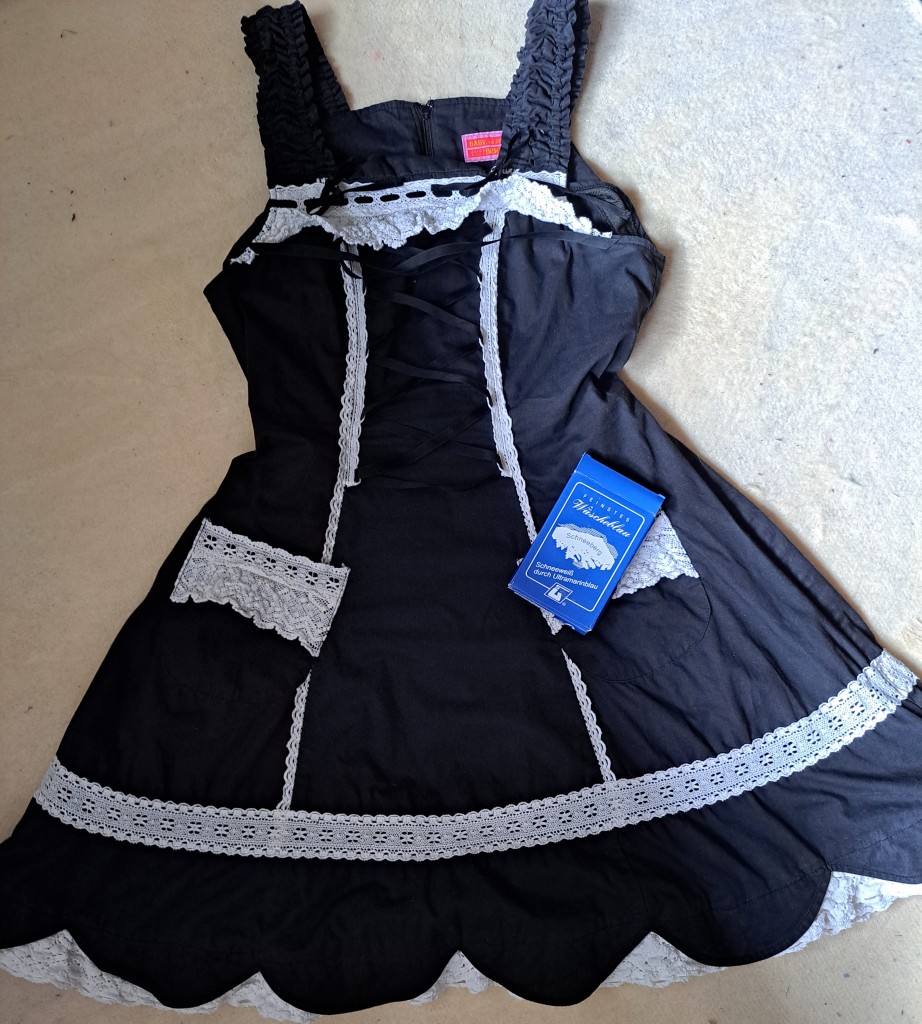
To end this blogpost, I want to introduce a process that was recommend to me by a mutual that I was chatting with. It’s called bluing, and it’s basically the process of microdosing blue fabric to a garment to cancel out the yellow/orange tones. This should help prevent yellowing and discoloration from old age in white garments. I have not tried the product yet, but I’ll apply it in the near future to reduce the chance of having to repeat this whole process again. I bought Schneeberg bluing as that’s what is available in my area, a similar product that can be found in the US is called Reckitt. I’ve understood that this may cause a blue hue te be visible on the garment, but can easily be removed by washing it again without any detergent or product.
As a final footnote I would like to add that the dress took a pretty hard beating after all that product: the fabric had stiffened and felt rough in texture. If you experience the same, allow a soak with 1 part fabric softener and 3 parts warm water. The dress may have a strong odour after this, but it will improve the stiffening significantly.
I hope this blogpost has helped you restore a garment so it can be worn and loved again, or at the very least has given you some confidence to buy and wear older pieces. Thank you for reading, and make sure to leave any tips or advice in the comments!

You did an amazing work on this dress!
LikeLike
Thank you!
LikeLike